MikroTik Router Configuration
Initial Setup & Security
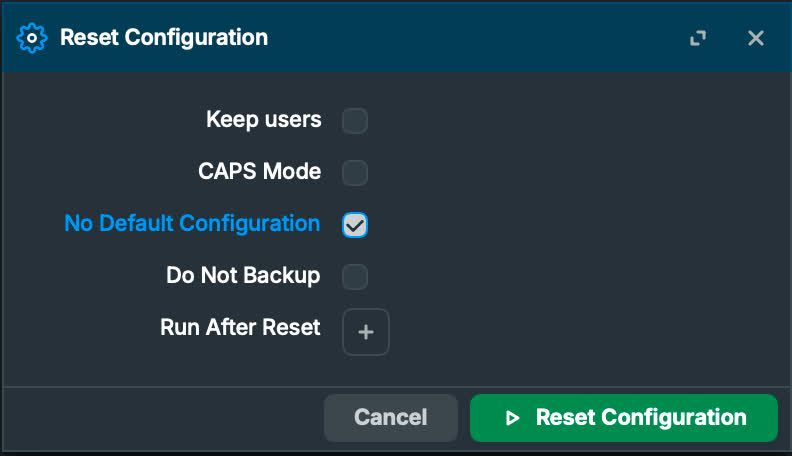
1. Factory Reset
System→Reset Configuration- Important: Check
No Default Configurationto start clean - After reset, default credentials are:
- Username:
admin - Password: (empty)
2. Secure Access (Do this before connecting to internet)
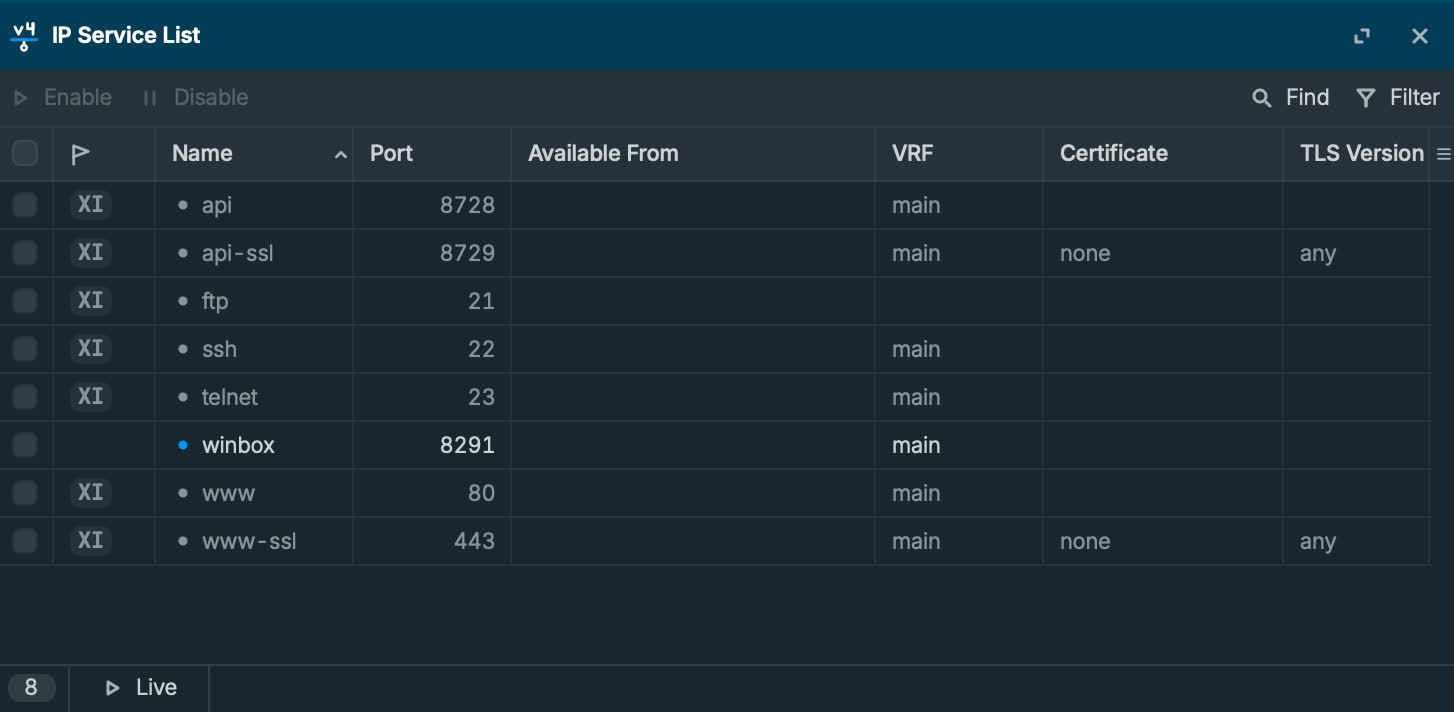
2.1 Limit management services
IP→Services- Disable everything you don’t use
- Keep only
WinBoxenabled
2.2 Change admin password / user
System→Users- Set a strong password (or create a new admin user and disable admin)
Internet Connection
3. Create PPPoE client
PPP→New→PPPoE Client- Interface: ether1
- User / Password: from ISP
4. NAT (Masquerade)
IP→Firewall→NAT→New- Chain:
srcnat - Out. Interface: your PPPoE interface (e.g.
pppoe-out1) - Action:
masquerade
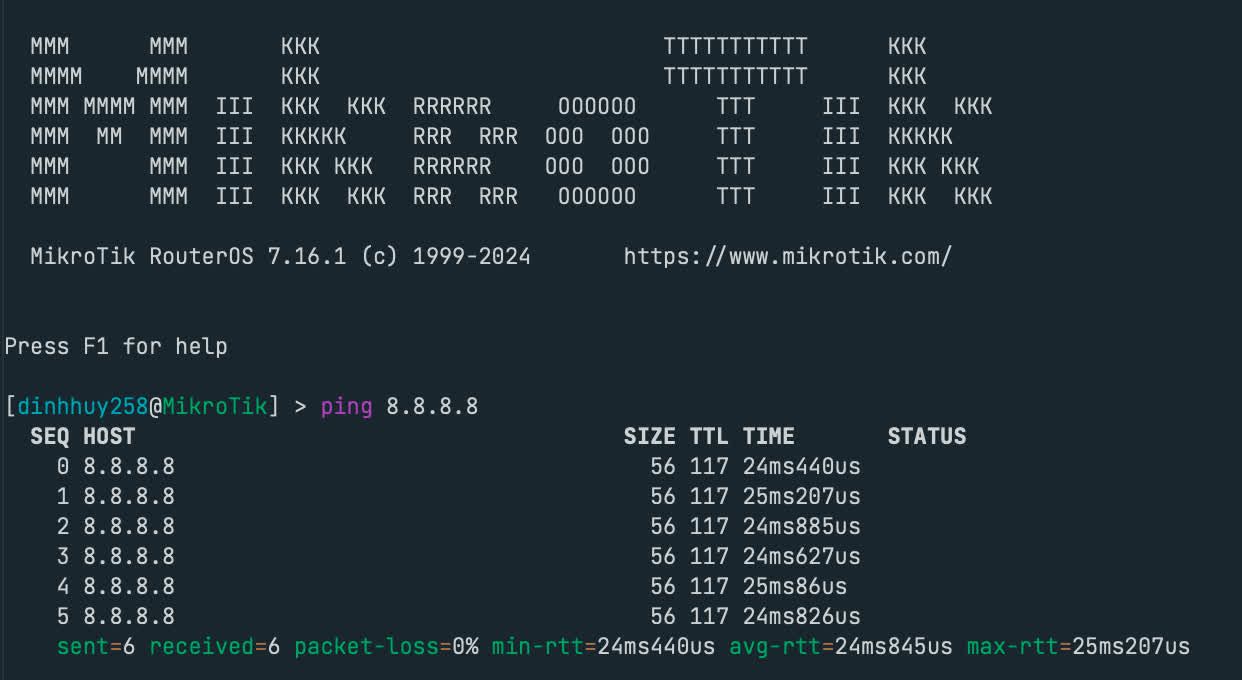
5. Verify Connectivity
Test internet connection in terminal:
1 | |
LAN Configuration
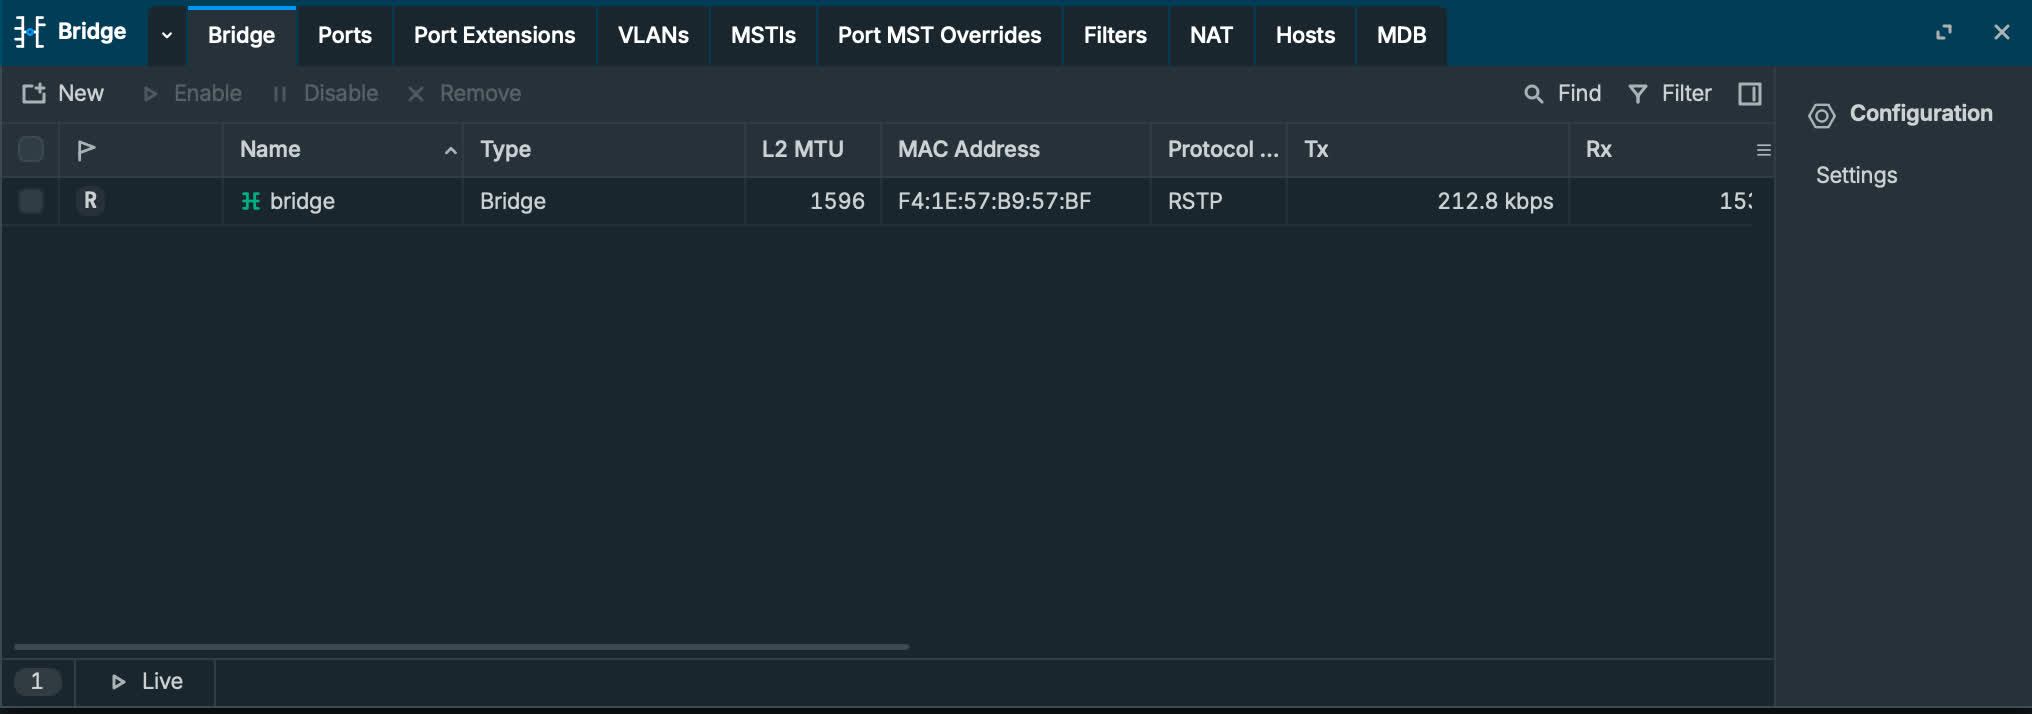
6. Create Bridge
Bridge→New- Name:
bridge
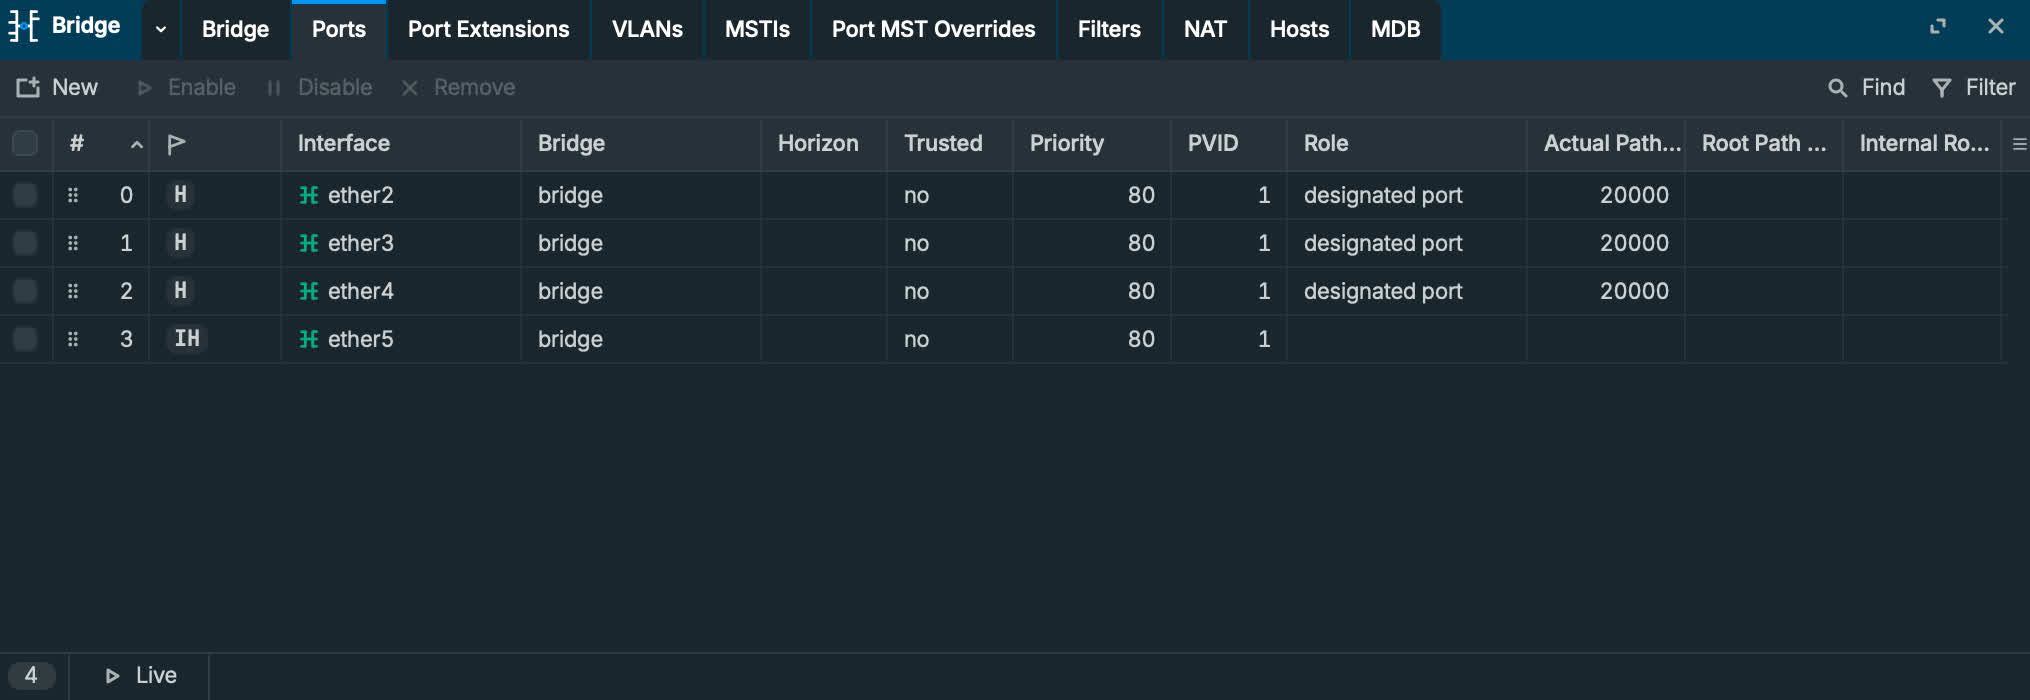
7. Add LAN ports to bridge
Bridge→Ports→New- Add
ether2,ether3,ether4,ether5tobridge
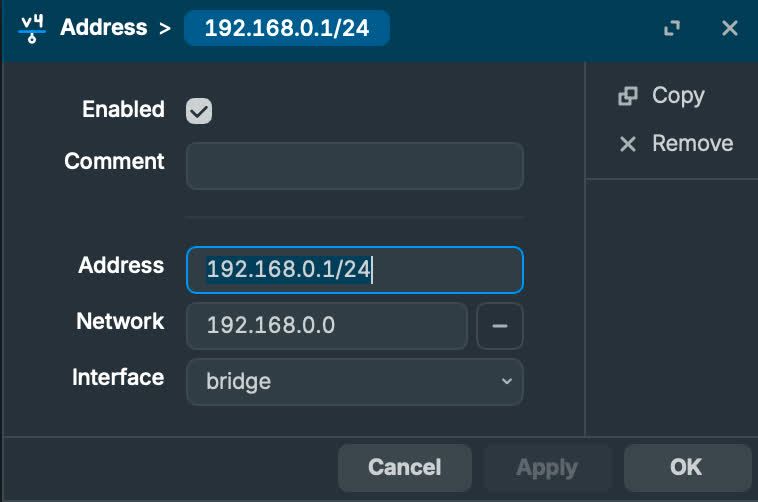
8. Assign gateway IP to bridge
IP→Addresses→New- Address:
192.168.0.1/24 - Interface:
bridge
9. Set DNS servers
IP→DNS- Servers:
1.1.1.1(or your preferred DNS)

10. DHCP Server for LAN clients
IP→DHCP Server→DHCP Setup- DHCP Server Interface:
bridge - DHCP Address Space:
192.168.0.0/24 - Gateway:
192.168.0.1 - Address Pool:
192.168.0.20-192.168.0.254 - DNS Server:
1.1.1.1 - Lease Time:
24:00:00(24 hours for home use)
11. Verify from a client PC
- Connect to
ether2→ether5 - Test
ping 8.8.8.8